Entry · Ref WU0D6CPS
How to Plan a Construction Drone Survey for Better Site Capture
- Posted
- 2026-11-14
- Last amended
- 2026-11-14
- Account
- @concreteandcontext
A construction drone survey can give you a clear picture of progress, spot potential issues early, and keep everyone on the same page. But the quality of what you get depends almost entirely on how well you plan the flight beforehand. Rushing to launch without a proper checklist often leads to incomplete data, wasted time on site, or images that don't line up with the project's needs.
This article walks through the points you should check before every construction site capture. Whether you are coordinating with a service provider or running the flight yourself, these steps help ensure the data you collect is useful, accurate, and safe to work with.
Define the Purpose and the Output You Need
Before anything else, be clear about what the capture is for. Are you tracking earthworks volumes, checking foundation alignment, inspecting roof membrane condition, or creating a promotional flyover? Each goal demands a different flight plan, camera setting, and post-processing workflow.
For example, volumetric calculations require overlapping images taken from a consistent altitude, ideally with ground control points placed around the site. A visual inspection for cracks or ponding needs high-resolution oblique shots rather than nadir-only imagery. A 360 panorama intended for a project portal needs a specific camera position and a clear path around the tripod.
Write down the deliverables you expect: orthomosaic, point cloud, 3D mesh, annotated PDF, or raw video. This clarity stops the crew from collecting too much or too little data.
Check the Site Boundary and Flight Area
Review the site boundary against the planned flight perimeter. Construction sites change fast. A fence line that was clear last week may now have a material stockpile blocking the drone's view or a new crane extending into the flight zone.
Walk the perimeter or use a recent site plan to identify obstacles: overhead power lines, guy wires, temporary hoardings, tower cranes, and scaffolding. Mark each on a map and note its height. This information helps the pilot set safe altitude limits and plan approach paths that avoid sudden climbs or descents.
Also confirm that the flight area stays within visual line of sight and respects any local no-fly zones or airspace restrictions near hospitals, airports, or government facilities. If the site is near a controlled airspace, you may need a LAANC authorization or a waiver before the flight can proceed.
Assess Access Roads and Parking
Drone crews need to get equipment to the launch point. Check that the access road is wide enough for a vehicle, has no low-hanging branches, and is not blocked by construction traffic. If the road is muddy or under repair, the crew may need to park elsewhere and carry gear to the site.
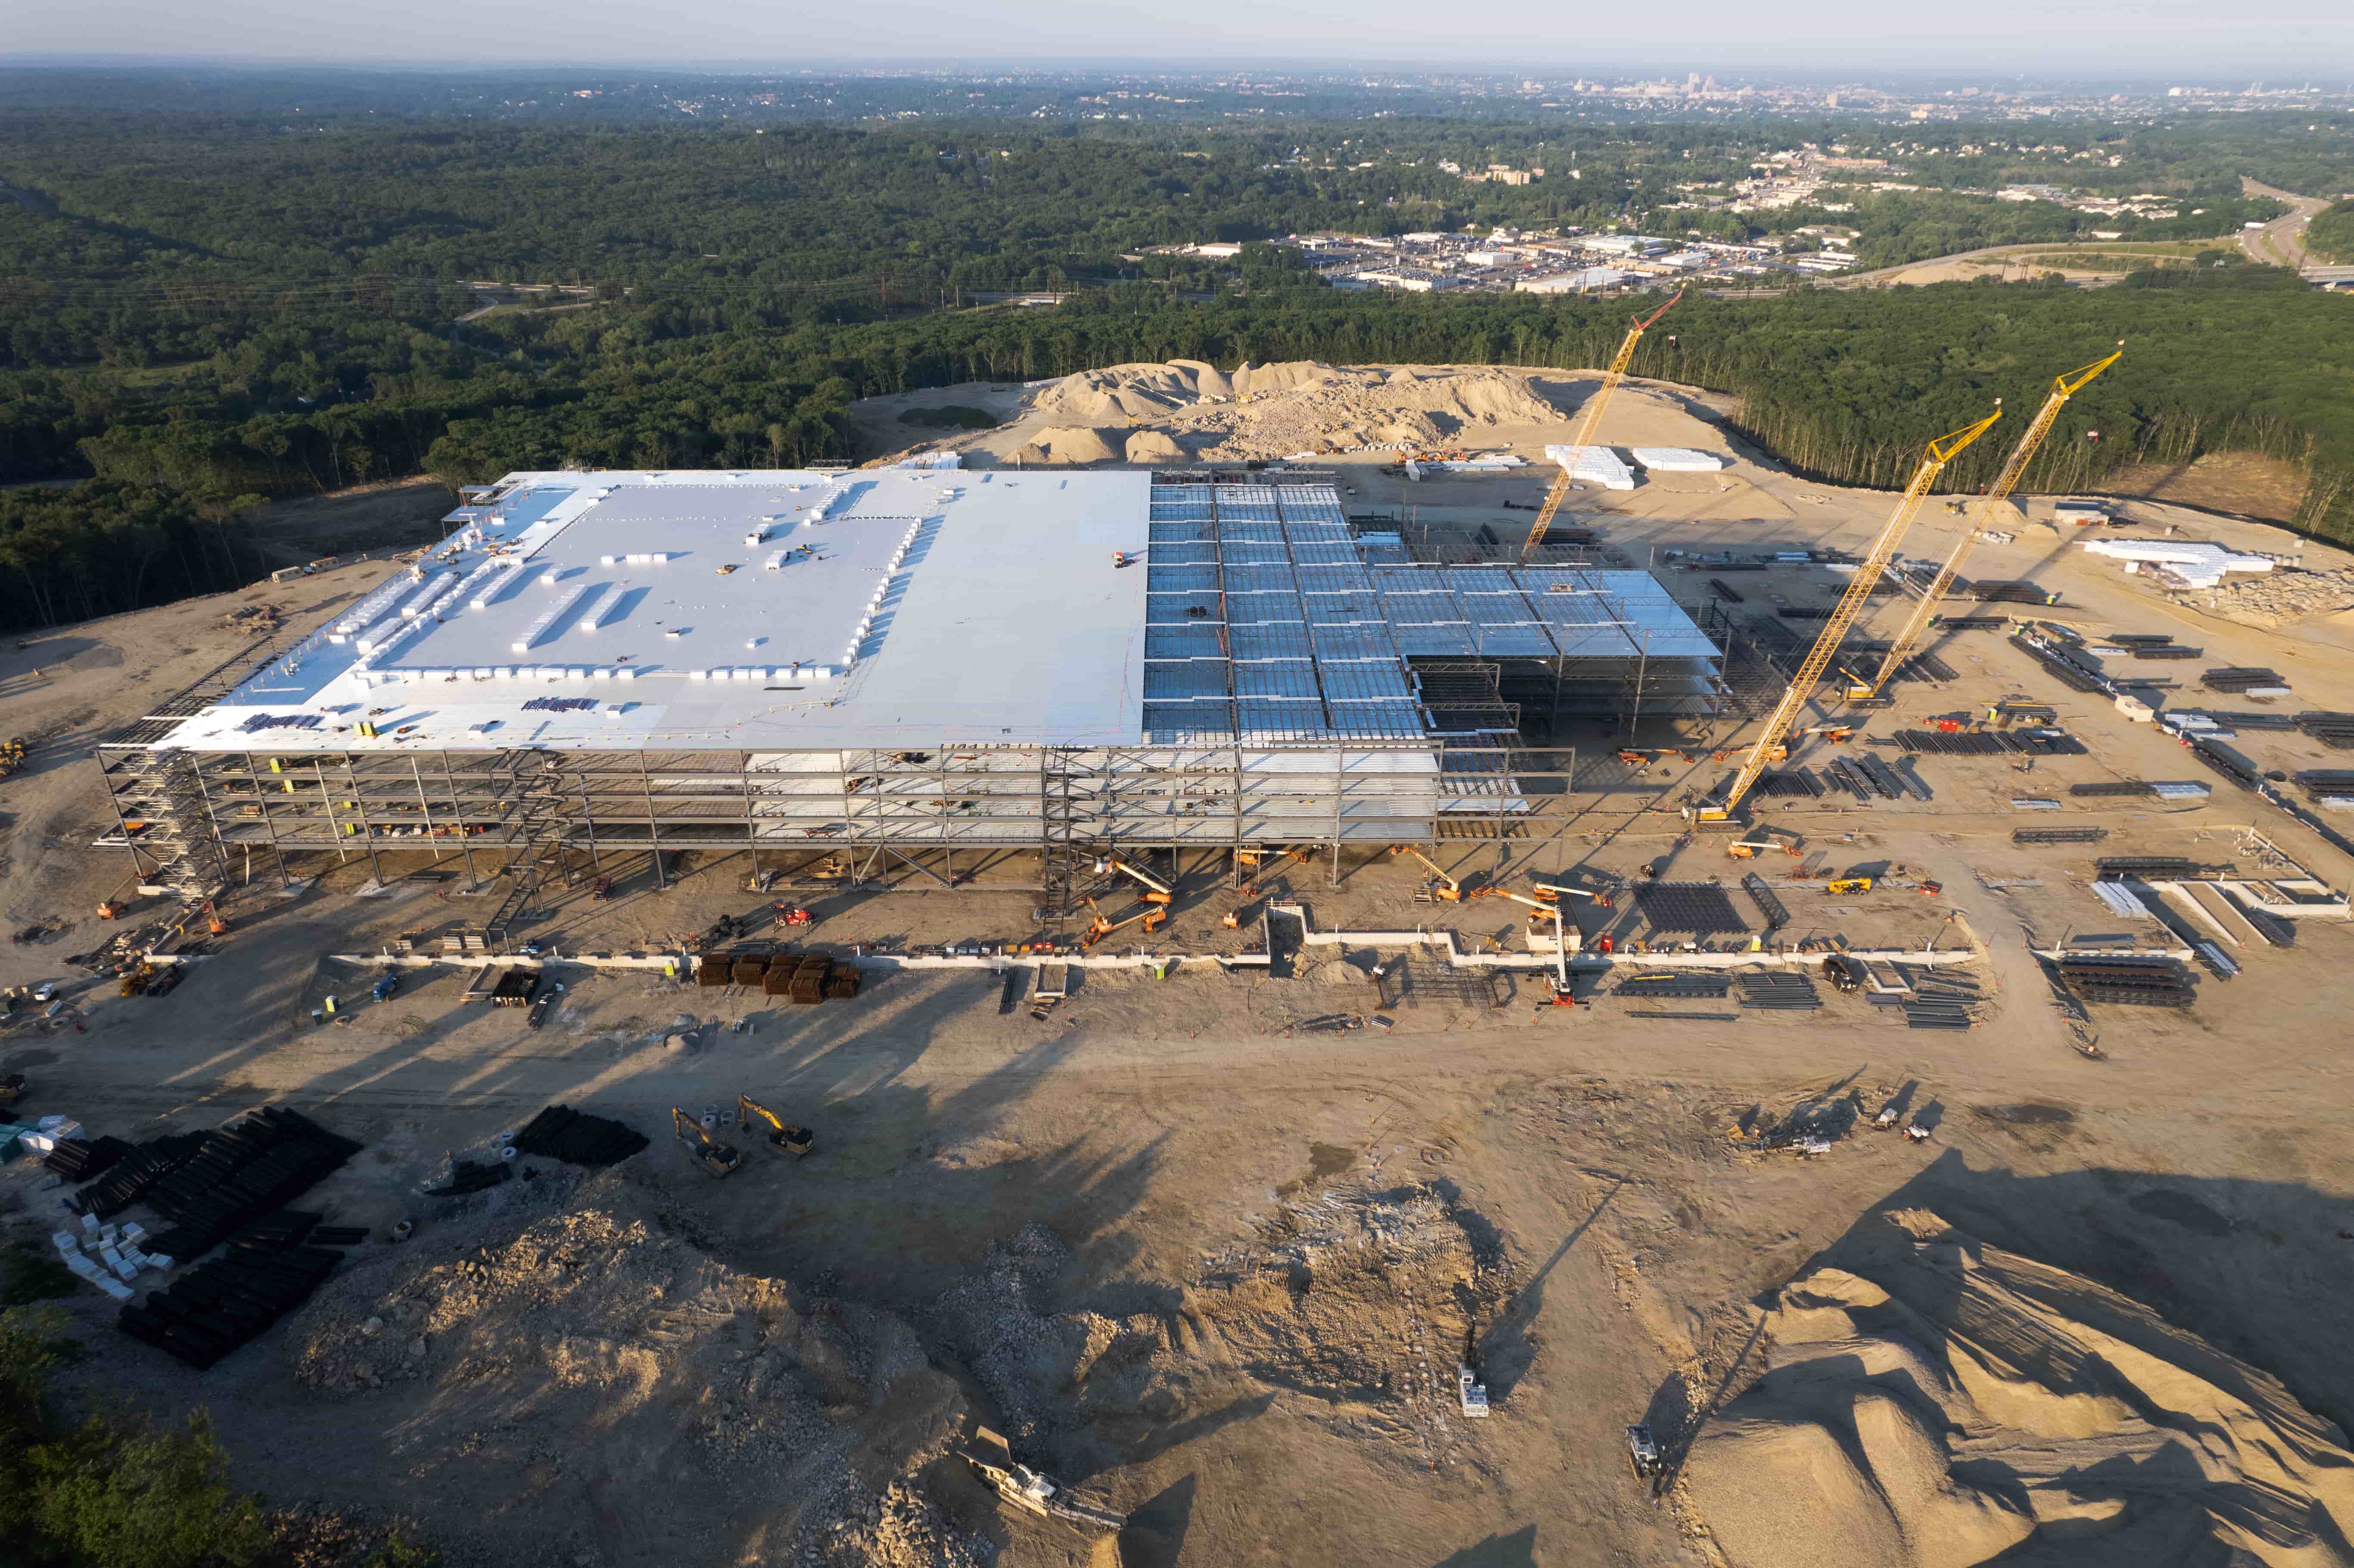
Plan a dedicated launch and landing zone that is flat, free of loose debris, and away from pedestrian walkways. Mark it with cones or signs so site workers know to avoid the area during takeoff and landing. A good landing zone reduces dust ingestion into the drone's motors and keeps the camera lens clean.
Review Weather Conditions
Weather is the single most unpredictable factor in a drone survey. Wind speed, gustiness, cloud cover, and precipitation all affect image quality and flight safety.
Check the forecast for the entire capture window, not just the planned launch time. Wind gusts over 20 mph can make it hard to hold a stable hover, especially for larger drones carrying heavy payloads. Rain or fog degrades lens visibility and can damage electronics. High temperatures can overheat batteries, reducing flight time.
If you are capturing photogrammetry data, consistent lighting matters. Overcast skies produce soft shadows and even exposure, which is ideal for orthomosaics. Harsh sunlight creates deep shadows that confuse the stitching software. If the forecast shows a mix of sun and cloud, try to schedule the flight for the middle of the day when the sun is highest and shadows are shortest.
Know the Construction Phase
The stage of construction affects what you can see and what you need to capture. Early earthworks require wide-angle coverage of the entire site. Foundation work calls for detailed shots of rebar placement, formwork, and pour progress. Framing and cladding phases benefit from oblique images that show vertical surfaces and roof details.
Coordinate with the site superintendent to learn what activities are happening during the capture window. If concrete is being poured, the drone may need to wait until the surface is hard enough to avoid dust and debris being kicked up. If cranes are active, the pilot may need to adjust flight paths to maintain a safe distance.
Also ask about any scheduled blasting, pile driving, or heavy equipment movement that could cause vibrations or sudden noise. These can startle the drone or interfere with GPS accuracy.
Plan the Capture Schedule
A single flight rarely covers an entire large construction site. Break the site into logical zones: perimeter, internal roads, building footprints, stockpile areas, and utility corridors. Assign each zone a priority and a time slot.
Battery swaps and data transfer take time. If you have multiple batteries, plan the order so that the most important zones are captured first, while the light is best and the crew is fresh. Leave low-priority areas for the last flight, when battery life may be shorter and the pilot may be fatigued.
If the project requires regular progress captures, set a recurring schedule that matches the construction phase cadence. Weekly captures during fast-moving earthworks, monthly captures during finishing work. Stick to the same time of day and same flight path to make comparison easy.
Coordinate with the Pilot
Even if you hire an experienced provider, a pre-flight briefing is essential. Share the site map, the obstacle list, the desired outputs, and any safety concerns. Confirm that the pilot has the correct remote ID and any required waivers for the airspace.
Discuss contingency plans: what happens if the weather turns bad, if the drone loses GPS signal, or if a bird strikes the aircraft. Agree on a communication channel, usually a radio or a mobile phone, so the pilot can alert you if something goes wrong.
If the pilot works for a service such as nationaldroneservices.net, they will likely have their own pre-flight checklist. Still, the more context you provide about site conditions and project goals, the better the final data will match your needs.
Confirm Site Safety and Permissions
Construction sites are inherently hazardous. Hard hats, high-visibility vests, and steel-toed boots are usually mandatory. Make sure the drone crew has the correct PPE and has signed the site induction before starting.
Check that the site insurance covers drone operations. Some sites require an additional liability certificate naming the contractor. Also verify that the drone operator has their own liability insurance and that the policy is current.
If the site is in a sensitive area, near a school, a hospital, or a wildlife reserve, you may need extra permissions or a noise exemption. Sort this out weeks in advance, not on the morning of the flight.
Prepare Ground Control and Checkpoints
For surveys that need high accuracy, place ground control points (GCPs) around the site before the flight. These are marked targets whose coordinates are measured with a survey-grade GPS. The drone images include these targets, and the processing software uses them to georeference the final model.
Mark each GCP with a bright, non-reflective panel so it is visible from the air. Space them evenly across the site, with at least one near each corner and one near the center. Avoid placing them in areas that will be disturbed by construction activity during the capture window.
If you are not using GCPs, at least set visual checkpoints, distinct features like a manhole cover or a painted line, that you can identify in the images. These help you manually verify alignment later.
Review Data Storage and Handover
After the flight, the raw images and any processed outputs need to be stored securely and delivered in a usable format. Agree on file naming conventions, resolution, and projection. If the data will be used in BIM software, ask for a georeferenced TIFF or a point cloud in LAS format.
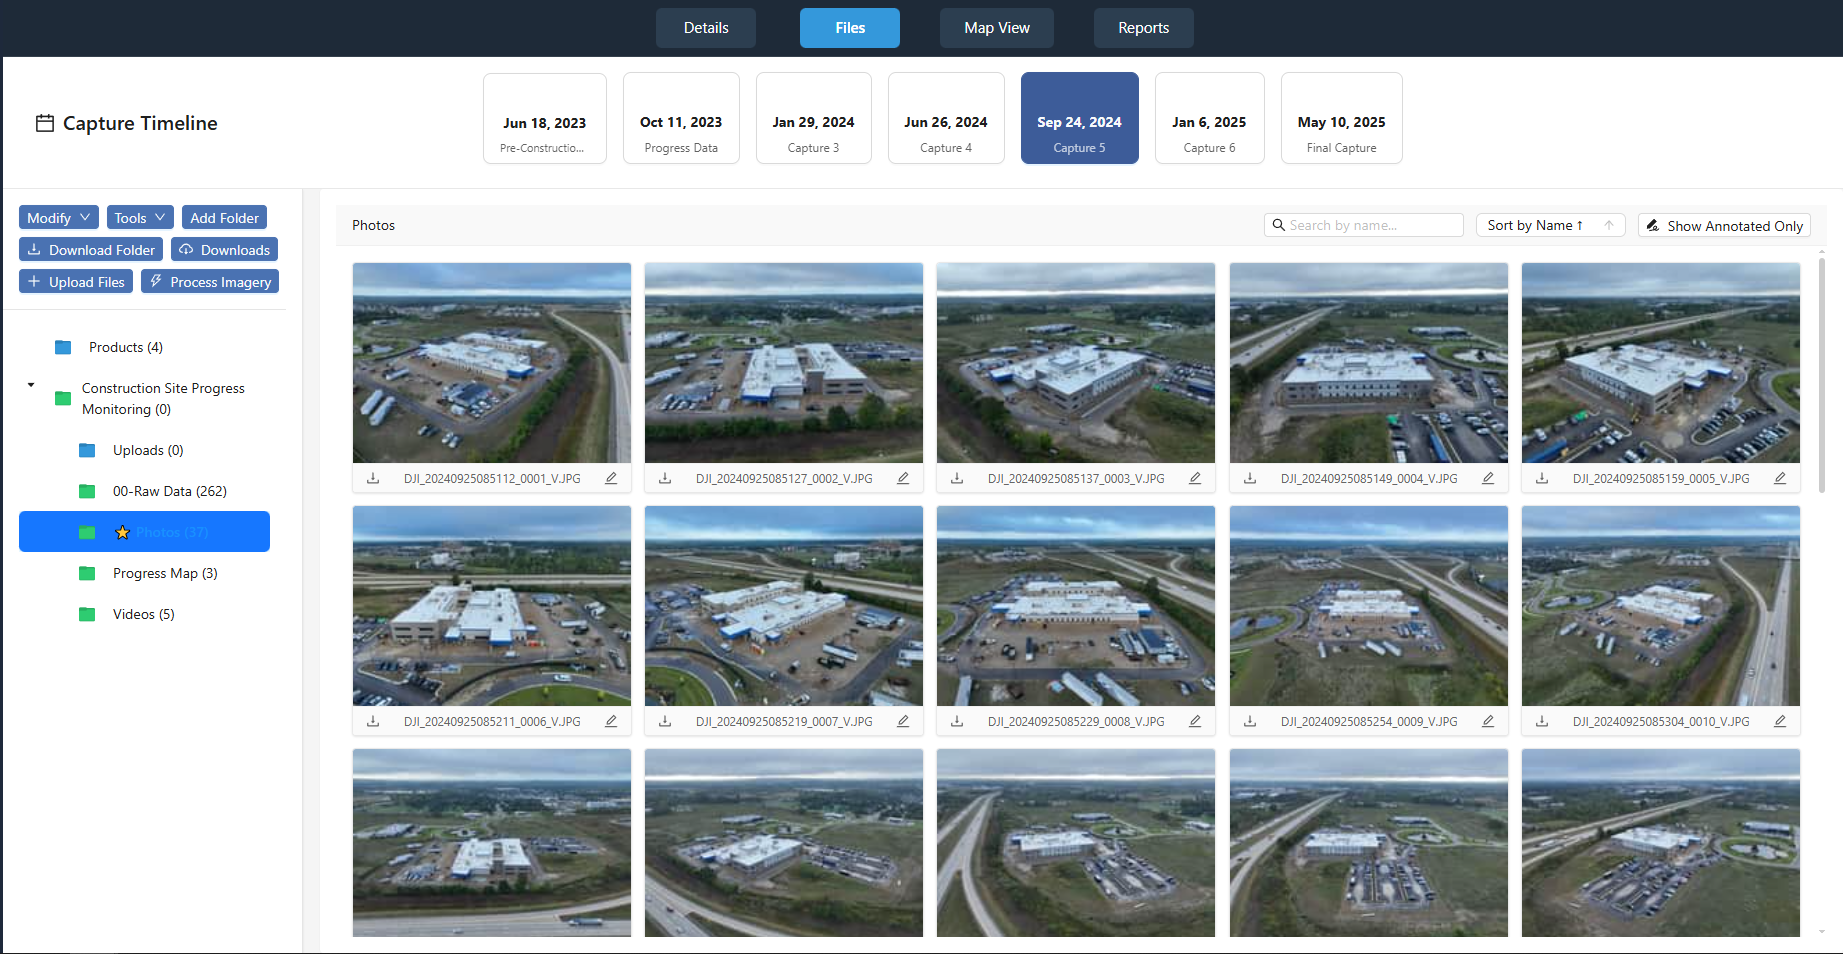
For a service like nationaldroneservices.net, the outputs may be organized in a project portal with aerial maps, 3D models, and 360 panoramas. Confirm who gets access and how long the data is retained. Also clarify what happens if a file is corrupted or missing, will a reflight be scheduled at no extra cost?
Finally, keep a log of each capture: date, time, weather, pilot name, drone model, battery count, and any anomalies. Over time, this log helps you spot trends, such as which months have the best flying conditions or which zones consistently need extra coverage.
Planning a construction drone survey does not have to be complicated. Work through these points methodically before every capture, and the data you collect will be reliable, repeatable, and ready to support decisions on site.